Microsoft Azure - Initial Setup
Hi there! Microsoft frequently changes their interface, so sometimes the instructions don't match up exactly. Feel free to ask me if you run into trouble! -Jon
[NOTE: Most of Microsoft's pages break with an ad blocker enabled.]
Get a Sponsorship
- Go to the Nonprofit Microsoft Getting Started page. Fill out the paperwork to be approved as a 501c3. Approval can take 1 day or 3-4 weeks - I've seen both multiple times.
- Once approved, go to https://www.microsoft.com/en-us/nonprofits/azure to claim credits (or go directly to Claiming Your Credits.
- Wait for an email saying you're approved for credits. Click Activate in the email.
- You should see a message saying your credits are now active.
- You'll be asked for contact and credit card info - but we won't exceed the $2,000 credit so it should never be charged.
- If when pressing Activate it says you're ineligible for the credits, you're not signed in with the same account you signed up with, log in with the new account.
Create a Subscription
[NOTE: As of December 2025 it looks like this step can be skipped! Please go to https://portal.azure.com, click the Subscriptions icon and ensure you see Azure subscription 1 listed.
- Check that you have credits in your sponsored account: https://www.microsoftazuresponsorships.com/Balance
- Visit the Azure Portal.
- Click the Subscriptions icon.
- Click the Add button.
- Add a subscription of type "Microsoft Azure Sponsorship" from the Azure portal. You will likely need to select Show other subscription types to see it.
- Note: Even sponsored subscriptions require a credit card, make sure you have one available.
Grant access to other users
Microsoft has made recent changes to this system, so these are experimental instructions. I may ask you to take additional steps!
Create a user
- Log in to https://entra.microsoft.com.
- Select Users from the left navigation menu.
- Click New User » Invite External User.
- Add my email (jon@megaphonetech.com) and display name (Jon Goldberg).
- On the Assignments tab, click Add Role, then grant me the Application Developer and Service Support Administrator roles.
- Go to the Review and Invite tab, and click Invite at the bottom of the screen.
Grant access to the subscription
- Go back to https://portal.azure.com
- Open the new subscription by clicking on it from the Subscriptions page.
- Click Access Control (IAM) in the left navigation bar.
- At the top, press Add » Add role assignment
- On the Role tab, go to the Privileged administrator roles subtab.
- Click Owner and press Next.
- On the Members tab, set Assign Access to User, group, or service principal, and click Select Members.
- In the Search by name or email address box, put the email of the new user and press Select. Press Next.
- On the Conditions tab, select Allow user to assign all roles except privileged administrator roles Owner, UAA, RBAC (Recommended).
- Click Review and Assign, then click Review and Assign again. At this point, they'll receive an email to either log in with an existing Microsoft account or to create a new one.
On Renewals
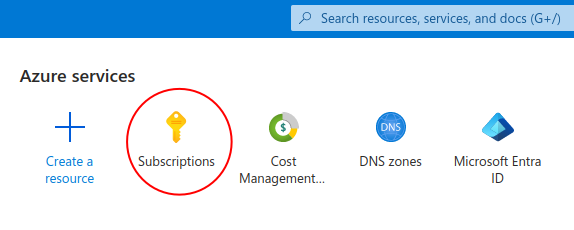
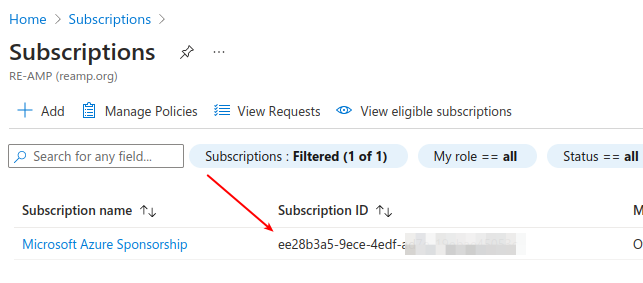
You will need to renew every year. Instructions for this are incomplete - but you should go to your Azure portal and click the Subscriptions button (see screenshot 1 below). Find the subscription ID (screenshot 2) - it's a string of numbers and letters. Then go to https://www.microsoftazuresponsorships.com/Balance and assign your new credits to the existing subscription.
If you did not do this in time, you should be able to open a support ticket with Microsoft to request a refund.
Screenshot 1
Screenshot 2
Updated by Jon Goldberg 7 months ago · 65 revisions